If you are a friend on Facebook or Instagram, then you already know we’ve entered the world of baby chicks. OH MY. And if you aren’t. Then oh my…maybe I should spare you the chicken drama. Soooo…last month we visited my sweet friend with LOTS of hens and a rooster. We had the BEST time playing on their land with the kids. Their 3 kiddos were adopted from Isaac’s orphanage–so it was fun to get together with our Ethiopia Hannah’s Hope friends. When we left, my friend Rachel sent us home with a carton of eggs FRESH out of the hens’ nests. The fact they have a rooster meant that the eggs could be fertilized. Soooooo…
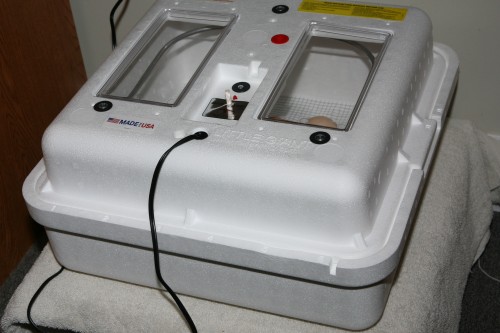
We ended up at the local feed and seed store on the chicken aisle to buy a Little Giant.
CLUELESS…and following my 8 year old princess’s suggestion–we decided instead of scrabbling the eggs–to incubate them and see what happened.

Before you run out and get some fertilized eggs–you must know there is a little bit HUGE learning curve to incubating eggs. We probably should have spent some time reading up rather than jumping in…and I just kept repeating over and over, “You were going to scramble them. You were going to scramble them”…thinking that if it didn’t work out…then it was okay. BUT. Once you start life…UM–it’s not that easy.
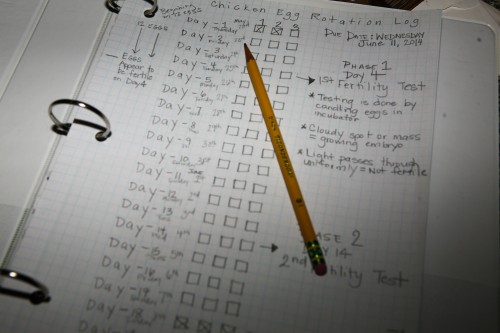
So…we did our research and decided to dive in. Having 5 small children–we created a chart for the big kids to help with the egg turning.

I didn’t realize how things needed to be JUST right–and boy this turned into a labor of love for sure. In a “still air” incubator the temp has to stay right around 101-102. You have to add water to also keep the humidity level just right–and where it needs to be in the beginning is different than the end. OH MY. (This is almost impossible to correctly maintain–so it makes it a miracle when they hatch for first timers–no stories about how your child’s preschool class did this and they all hatched please;).)


by admin