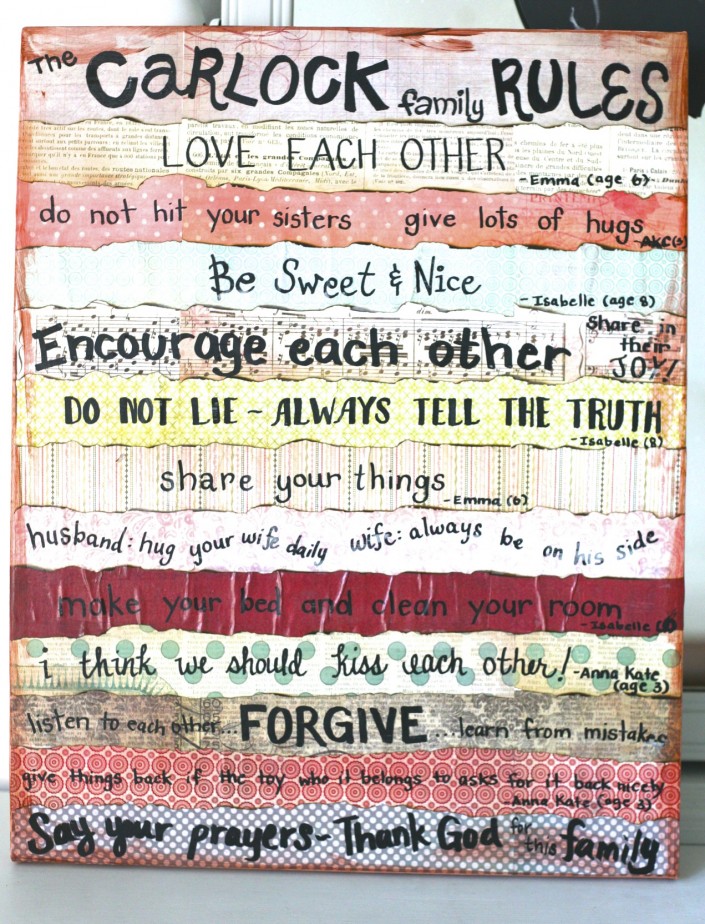
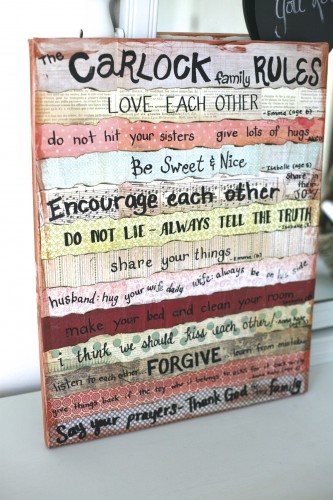
Family Rules Art…
My sister April’s birthday was on Sunday–and I LOVE to give personal, meaningful gifts rather than another nick back thingamajigger. I decided to call my nieces on the phone and interview them what THEY think the family rules should be in their home. THEN…I put them together like this…

I painted the edges to give it a little more rustic look when I was all done…

Here’s the super easy “how to”
1. Buy 13-15 of coordinating/fun scrapbooking papers (8×10 will do…I bought the 12×12 because I thought I’d make our family one too), a wrapped canvas (this is done on a 16×20 canvas–but you could do any size of course), Modge Podge (+sponge brush) AND black acrylic paint pen (or any paint pen will do!)
2. Cut 1.5-2 inches scrap book paper (I just eyeballed mine to probably 1.5) You can leave the edges straight–but I wanted mine to be rustic and random…so I burned the edges.
3. Using your sponge brush (or paint brush) put on first layer of scrapbook paper by putting Modge Podge on the canvas where the first strip will go. I didn’t burn the FIRST strip because it was my starting base. Then each strip went just slightly over the one just before it. (It’s helpful to have a dry rag or paper towels to rub the strip down. It’s okay if it creases–I always tell my kids that things are more beautiful the messier they get…they have character that way:).
4. After all your strips are on–go back and carefully press down any pieces of paper that are folding or sticking up. THEN–go over the entire canvas with a thin layer of Modge Podge. Let dry.
5. Look online for font inspiration–and go to town writing your family rules. (It’s way more fun to interview kiddos for these! I snuck a few in that I found online that I liked, but for the most part these were the rules my nieces gave me:)
6. Let paint pen writing dry. If you want to paint the edges you can do that now. You can use any kind of paint. I actually used what we already had here which was just some washable brown kids paint. It doesn’t matter what you use as long as you go ver the finished project at the end with more Modge Podge to protect it. I used another cheap sponge brush (2 came in a pack for 99 cents!) to paint the edges brown. I made the edges messes to give it an older rustic look too. After that dried…another thin layer of Modge Podge and ALL DONE.
And I wish you could have seen my sister’s face when she got this sweet gift!!! Reading something your kids helped your sister create…WAY better than just another thingamajigger…don’t ya think?!
Hope you all have a great Tuesday!! BY THE WAY…Kristin is SOOOO excited to hear the funds have been raised for Margret’s to have surgery in Ndola, Africa!!! She’s gone to Lusaka now to get business done but she’ll be back on Wednesday and hopefully we’ll hear some surgery dates soon!!!!! I’ll keep y’all posted!
XOXO!!!
Andrea Young


by admin